I can't take credit for it all. I originally had the plans of making it all black and white with one row in the middle of color. Mr. Fun sat there watching me and I could see his head turning. He tried to explain it to me and I didn't get it. So he drew a diagram, he knows I'm a visual person.

Do you see it? It's an addition table. So the black and white photos blend into color. I didn't see it as it was going up but once it was done, I loved it. Originally it was 11x11 but JJ chimed in and said we should do another row of all color since the bottom row is all black and white. That just polished it off, making it 12 high, 11 across. 132 photos in all.
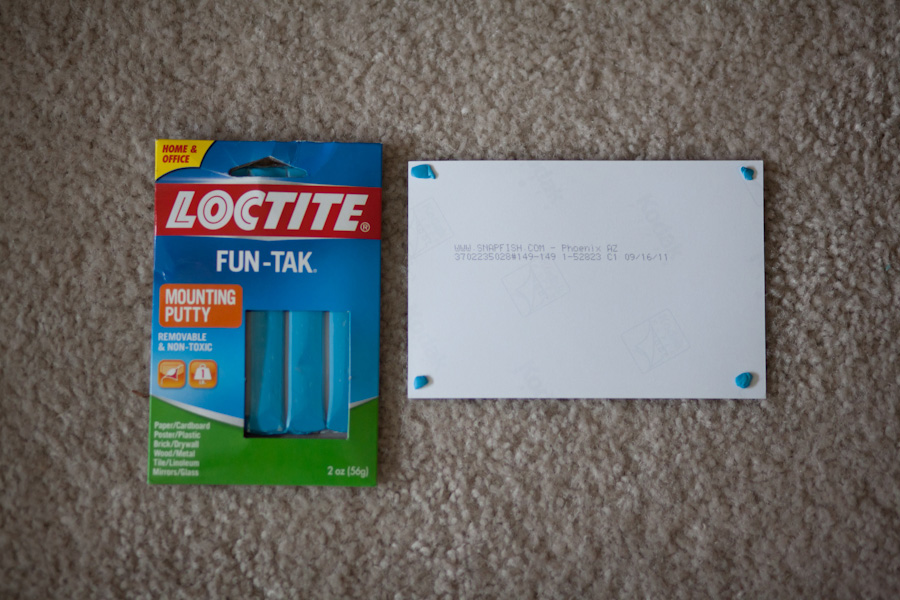
So how did we mount this? Was it hard, expensive? No and No. We used Fun-Tak, it's that blue putty like stuff teachers use to hang posters, also known as Blue-Tac. I searched high and low for it, I tried many other mounting ideas before finding it at Wal-Mart for $1.79 a pack. You can also get it from Amazon but I needed instant gratification when I saw it. From double sided tape, it ruins the photos when peeled off. I tried this beige putty found at staples, you have to warm it up in your hands to make it soft and it takes too long. We also tried these circle stickers from Office Max made for mounting photos(i forget the name). They didn't work for two hours,the photos fell off the wall like snowflakes.
It took almost one pack. You don't need a lot on each corner, it only takes a little to keep the photos up.

Another thing I did is I ordered the photos with a black border. It gives it a more polished look, separating each photo. There are a few photos without borders but I loved them and wanted them up so I disguised the them, making sure the photos that surrounded them had a border.

The photos don't have to be perfectly placed either, some photos were cut slightly bigger and smaller. So if you can order all photos in the same batch, I think this would make it less likely that you'd run into that.
When you take the photos down the Fun-Tak will stick to the wall. Don't try to rub it off, it will leave a mark. You have to get more Fun-Tac and blot it, it will come off easily.


Comments
Kym, you can order them like this at snapfish or costco. You could also do a white border if you wanted. These are a combo of costco and snapfish.